Mastering Chicken Taquitos: Baking, Frying, and Air Frying Tips
There's something universally appealing about a perfectly crispy taquito – that satisfying crunch giving way to a warm, savory, and richly seasoned chicken filling. Whether you’re planning a casual weeknight dinner, prepping for a party, or just craving a delightful snack, chicken taquitos are a crowd-pleasing choice. The beauty of this dish lies not only in its irresistible flavor but also in its versatility, offering three fantastic cooking methods to achieve that signature crispness: baking, frying, and air frying. Each method has its unique charm and delivers delicious results, leaving you to ponder the ultimate question: are your chicken taquitos baked or fried, or perhaps even air-fried, for optimal enjoyment? This comprehensive guide will walk you through everything you need to know to create taquito perfection, no matter your preferred cooking style.The Heart of the Taquito: Crafting the Perfect Filling
A taquito is only as good as its filling, and ours is designed to be bursting with flavor and wonderfully creamy. This crucial step sets the stage for a truly memorable experience.Flavor Profile and Ingredient Choices
The foundation of our irresistible filling starts with a creamy base that binds everything together. Combine softened cream cheese, a dollop of sour cream for tang, and your favorite salsa for a kick of zesty flavor. Whisk or stir these ingredients until perfectly smooth, ensuring no lumps remain. This creamy mixture will act as the luxurious "glue" for your other ingredients. Next, it's time for the star: shredded chicken. This is a fantastic way to utilize leftover rotisserie chicken, boiled chicken breasts, or even chicken cooked in an Instant Pot. The key is finely shredded chicken, which integrates beautifully into the creamy base. Beyond the chicken, we layer in more flavor and texture:- Cheese: Cheddar or Monterey Jack cheese melts wonderfully and adds a savory depth.
- Vegetables (Optional): Fresh spinach, finely chopped, adds a touch of color and nutrients without overpowering the flavor. You could also experiment with finely diced bell peppers or corn.
- Spices: Cumin, garlic powder, and chili powder are essential for that classic Tex-Mex profile. Don't forget salt and pepper to taste.
The Art of Mixing for Success
Don't underestimate the power of a good mix. Ensure all ingredients are evenly distributed, as this guarantees every bite of your taquito will be consistently delicious. Use a sturdy spoon or even your hands (with gloves) to really incorporate everything. The mixture should be cohesive but not overly wet. If it feels too loose, a little extra shredded cheese can help bind it further.Rolling for Perfection: Tortilla Prep and Assembly
The integrity of your taquito hinges on properly prepared tortillas and a snug roll. This step prevents cracking, unraveling, and ensures an even cook.Choosing and Warming Your Tortillas
Corn tortillas are traditional for taquitos, offering an authentic flavor and satisfying crispness. However, they are notoriously prone to cracking when rolled cold. To prevent this, a quick warm-up is essential:- Skillet Method: Heat a dry skillet over medium heat. Place each corn tortilla on the skillet for 15-30 seconds per side, just until it becomes pliable.
- Microwave Method: Wrap a stack of 5-6 tortillas in a damp paper towel and microwave for 30-45 seconds.
The Secret to a Tight Roll
Lay a warmed tortilla flat on your work surface. Spoon a generous, but not excessive, line of filling along one edge – about 1-2 tablespoons, depending on tortilla size. The key is to leave a small border on the sides to prevent filling from escaping. Now, roll the tortilla up as tightly as possible, starting from the edge with the filling. A tight roll ensures the taquitos hold their shape during cooking and results in a crispier texture. If you find your taquitos trying to unravel, a simple toothpick inserted through the seam can secure them. While often not necessary with a well-warmed tortilla and tight roll, it's a handy trick to keep in mind, especially for beginners.The Great Debate: Baking vs. Frying vs. Air Frying
Now for the exciting part – deciding how to achieve that coveted crispy exterior. Each method offers a unique experience, allowing you to choose based on your preference for crunch, health, and convenience. To master your chicken taquitos, baked or fried, or air-fried, understanding the nuances of each technique is key.Oven-Baked Taquitos: Crispy & Convenient
Baking is an excellent option for a more hands-off approach and generally requires less oil than deep-frying. You can cook a larger batch at once, making it ideal for gatherings.Method:
- Preheat your oven to 400°F (200°C). For even crispier results, some recipes suggest 425°F.
- Line a baking sheet with parchment paper for easy cleanup and to prevent sticking.
- Arrange the rolled taquitos in a single layer on the prepared sheet pan.
- Lightly spray or brush the taquitos with olive oil, avocado oil, or another high-heat cooking oil. This oil is crucial for achieving that golden-brown, crispy finish. Without it, they can dry out rather than crisp up.
- Bake for 15-20 minutes, flipping halfway through, or until they are golden brown and wonderfully crunchy. Keep an eye on them, as oven temperatures can vary.
Pros: Less oil, easy cleanup, can cook large batches, hands-off. Cons: Can sometimes be less uniformly crispy than fried, might take slightly longer.
Deep-Fried Delights: The Ultimate Crunch
Method:
- Pour about 1 to 1 ½ inches of a neutral, high-smoke-point oil (like vegetable, canola, or peanut oil) into a heavy-bottomed pot or deep skillet.
- Heat the oil to medium-high heat, aiming for around 350-375°F (175-190°C). You can test the oil by dropping a small piece of tortilla in – it should sizzle immediately.
- Carefully place the taquitos into the hot oil in batches, ensuring not to overcrowd the pan. Overcrowding will lower the oil temperature and result in greasy taquitos.
- Fry for 2-4 minutes, turning frequently with tongs, until they are golden brown and crispy on all sides.
- Remove the taquitos from the oil and immediately place them on a wire rack set over paper towels to drain excess oil. This ensures they remain crisp and aren't soggy.
Pros: Superior crispness, authentic flavor, quick cooking time per batch. Cons: More oil usage, requires more attention, potential for oil splatters, cleanup can be more involved.
Air Fryer Magic: Fast & Guilt-Free Crispy
The air fryer has revolutionized crispy cooking, offering a fantastic middle ground between baking and frying. It delivers exceptional crispness with minimal oil, making it a favorite for many seeking a healthier alternative. This is especially true for those wanting Easy Chicken Taquitos: Baked, Fried, & Air Fryer Weeknight Meal.Method:
- Preheat your air fryer to 375-400°F (190-200°C) for 5 minutes. This ensures the basket is hot for immediate crisping.
- Lightly spray the taquitos with oil (an oil mister works great here) and place them in a single layer in the air fryer basket. Do not overcrowd; cook in batches if necessary.
- Air fry for 8-12 minutes, flipping them halfway through, until they are golden brown and crunchy. The exact time can vary depending on your air fryer model.
Pros: Minimal oil, very crispy results, faster than baking, easier cleanup than deep-frying. Cons: Limited batch size, can sometimes dry out if overcooked.
Ultimately, whether your chicken taquitos are baked or fried, or air-fried, the goal is always that satisfying crunch. Experiment with all three methods to discover your personal favorite! For more insights into achieving the perfect crunch, check out this guide: Crispy Chicken Taquitos: Baked, Fried, or Air Fryer Perfection.Pro Tips for Taquito Triumphs
To elevate your taquito game even further, consider these expert tips:- Make Ahead Magic: Assemble the taquitos ahead of time and store them raw in the refrigerator for up to 24 hours, or freeze them for longer. If freezing, arrange them on a baking sheet until solid, then transfer to a freezer-safe bag. Cook from frozen, adding a few extra minutes to the cooking time.
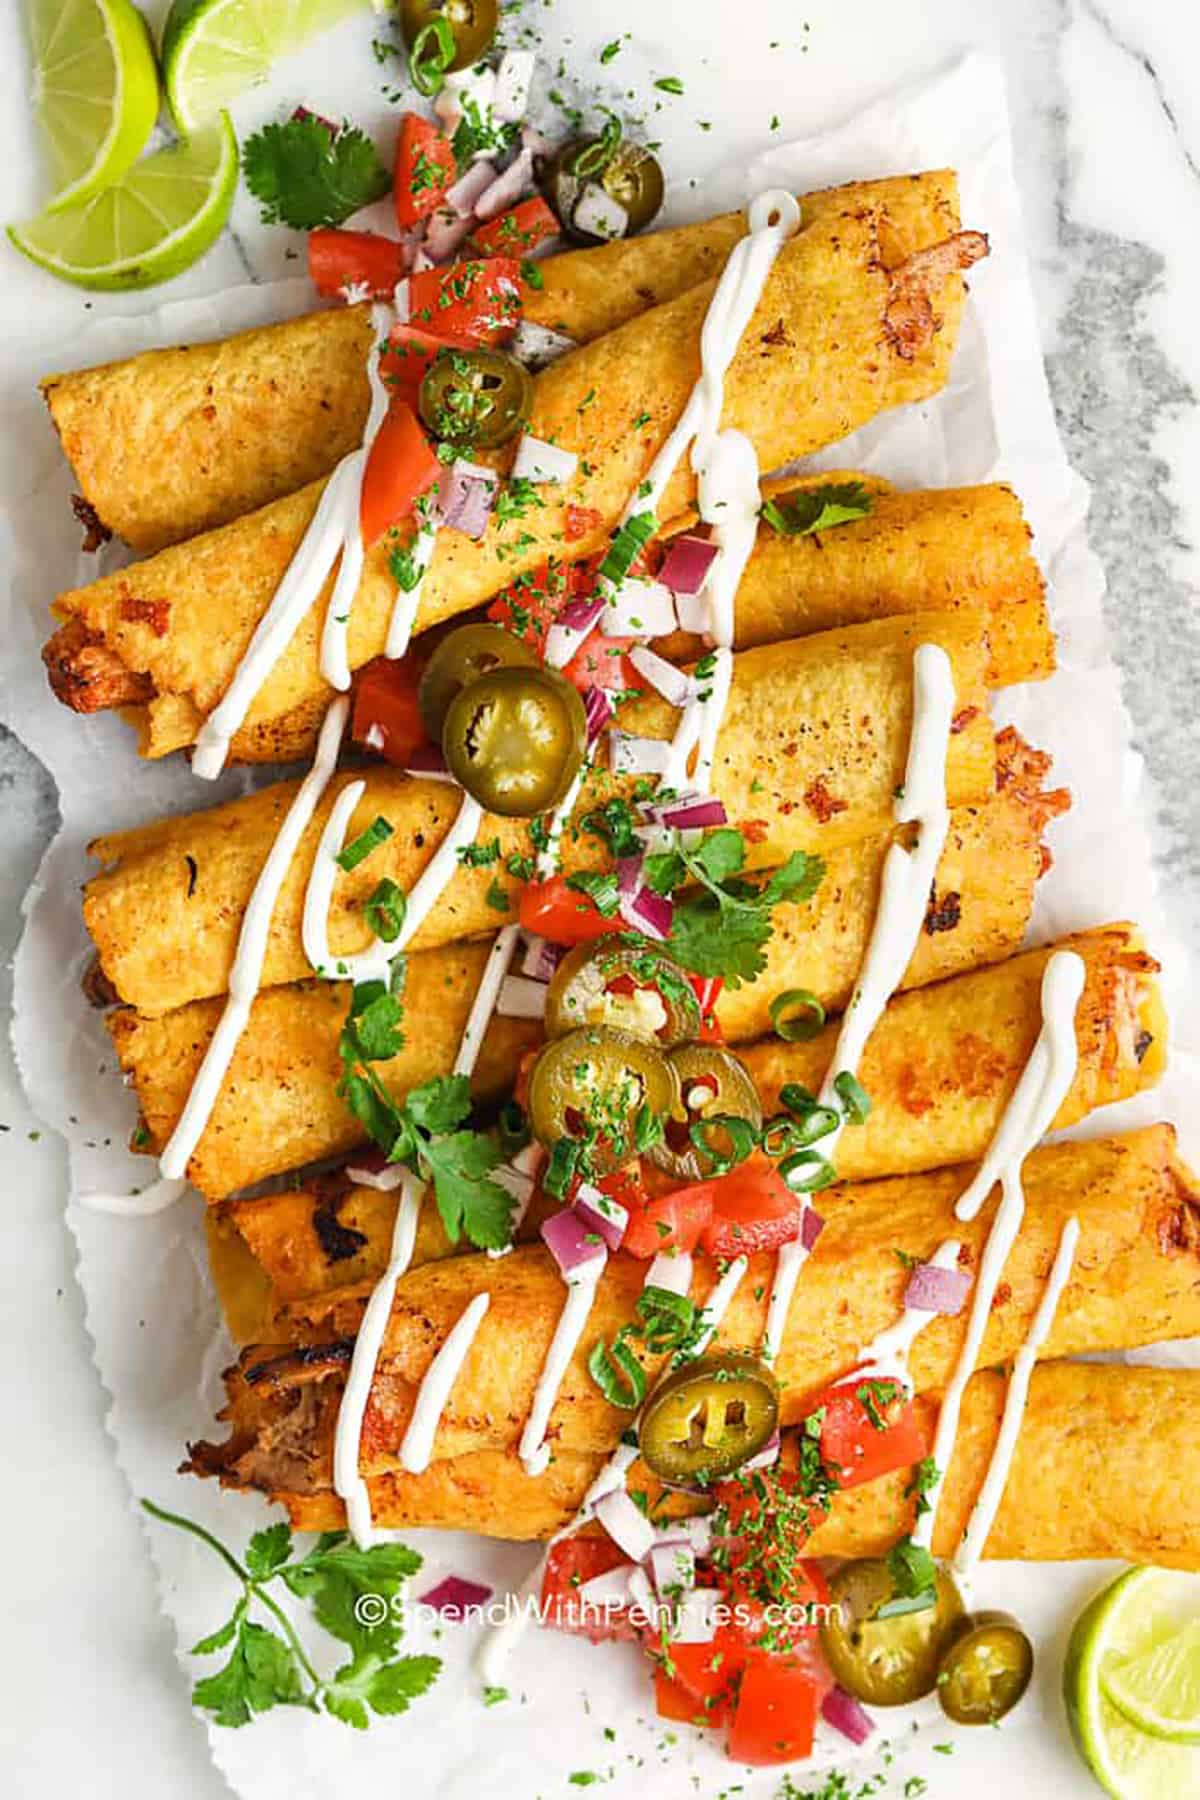
- Dipping Delights: Taquitos are incomplete without their perfect dipping companions. Classic choices include guacamole, salsa (mild or spicy), sour cream (or a dollop of Greek yogurt for a lighter option), and queso. Get creative with a homemade avocado cream sauce or a spicy chipotle aioli.
- Preventing Soggy Taquitos: For fried taquitos, ensure they drain thoroughly on a wire rack. For baked or air-fried versions, avoid stacking them directly after cooking; let them cool slightly on a rack to maintain crispness.
- Customize Your Filling: Don't be afraid to experiment with your filling! Add different cheeses like pepper jack for a spicy kick, black beans for extra protein, or a touch of smoked paprika for depth.
